
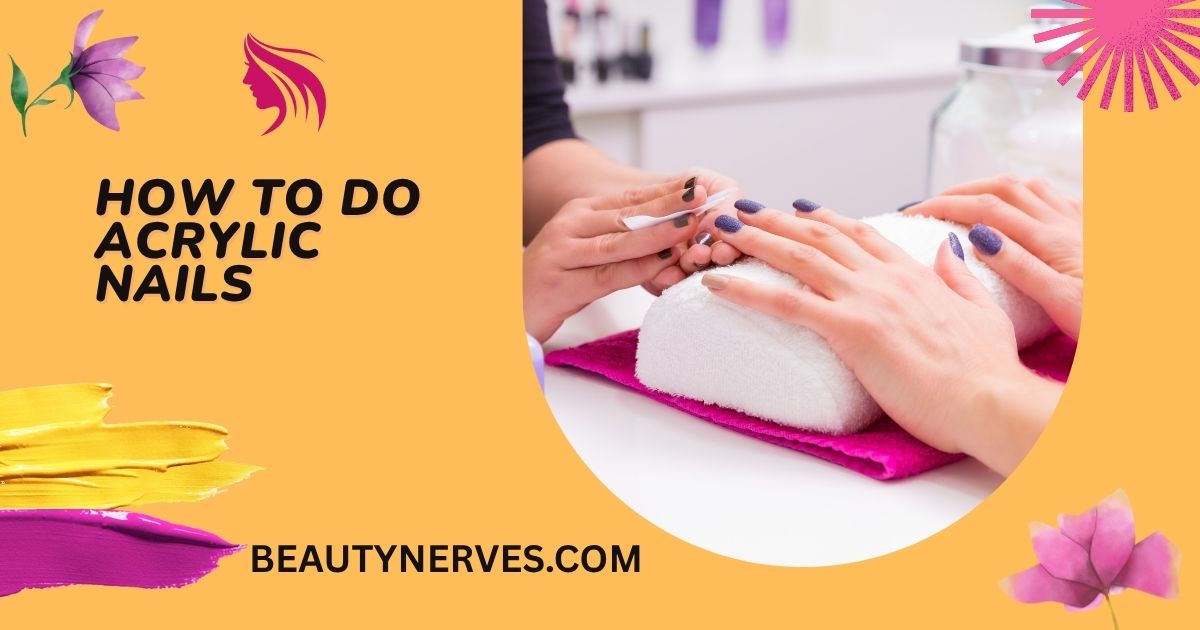
Learning how to do acrylic nails at home can help you create a neat, salon-style manicure without booking an appointment. The secret is simple preparation, the right acrylic products, and practice with small beads.
Acrylic nails are popular because they add length, shape, and a smooth base for nail art. But getting a clean finish takes patience. If you are new to acrylics, start with short nails and learn the basic steps before trying long or complicated designs.
This guide explains how to do acrylic nails step by step, including nail preparation, applying tips, using acrylic powder and liquid, shaping, polishing, and safe aftercare.
Table of Contents
What Are Acrylic Nails and How to Do Acrylic Nails?
Acrylic nails are artificial nail enhancements made by combining acrylic powder with liquid monomer. The mixture forms a workable bead that hardens in the air.
Acrylics can add length, create different nail shapes, and provide a base for French tips, ombre designs, and other nail art.
For a broader explanation of acrylic nail types, materials, and care, explore the acrylic nails guide .
Acrylic Nail Supplies for Beginners
The right acrylic nail supplies make the application easier and help you avoid common beginner mistakes. Gather your tools before starting so you can work without rushing.
| Supply | Purpose |
|---|---|
| Acrylic powder | Forms the nail enhancement |
| Liquid monomer | Mixes with acrylic powder |
| Acrylic brush | Picks up and shapes beads |
| Nail tips | Add length |
| Nail glue | Attaches tips |
| Nail file | Shapes acrylic |
| Buffer | Smooths the surface |
| Nail dehydrator | Removes surface moisture and oil |
| Primer | Helps adhesion when required |
| Dappen dish | Holds monomer |
| Cuticle pusher | Gently pushes back cuticles |
| Lint-free wipes | Clean the nail |
| Top coat | Adds shine |
Choose products from reputable manufacturers and follow their instructions. Use a suitable professional nail monomer, avoid MMA monomer products, and work in a well-ventilated space.
How to Prepare Natural Nails for Acrylics
Natural nail preparation is the first step to a clean acrylic manicure. It helps remove surface oil and prepares the nail for the enhancement without unnecessary damage.
Steps for nail preparation
- Wash your hands and dry them completely.
- Remove old nail polish.
- Trim your natural nails if needed.
- Gently push back the cuticles.
- Remove only loose dead cuticle tissue.
- Lightly buff away surface shine.
- Brush away filing dust.
- Apply dehydrator and primer according to product instructions.
Do not aggressively file the natural nail. You only need to remove surface shine, not thin the nail plate.
Avoid applying hand lotion or cuticle oil before acrylic application because oils can affect adhesion.
How to Choose Acrylic Nail Shapes and Lengths
Your nail shape and length affect both the appearance and comfort of your manicure. Beginners usually find short acrylic nails easier to apply, shape, and maintain.
Popular acrylic nail shapes include:
- Round
- Square
- Squoval
- Oval
- Almond
- Coffin
- Stiletto
Short round or squoval nails are practical for everyday activities. Almond and coffin shapes can create a more dramatic look, but longer nails require extra care.
For inspiration, browse these short nail ideas before choosing your shape.
How to Apply Nail Tips for Acrylic Nails
Nail tips add length before you apply acrylic, making it easier to create long square, almond, or coffin nails. Choose tips that fit the natural nail from sidewall to sidewall.
Step-by-step nail tip application
- Select the correct tip size for each nail.
- Apply a small amount of nail glue to the contact area.
- Place the tip at the free edge of the natural nail.
- Hold it in position according to the glue instructions.
- Let the glue set.
- Trim the tip to your desired length.
- File the tip into your chosen shape.
The tip should fit comfortably without being forced onto the nail. Avoid using too much glue, and keep it away from the skin.
If you prefer a shorter manicure, you can skip tips and apply acrylic directly over your natural nails.
Learn more about choosing and using nail tips before you begin.
How to Mix Acrylic Powder and Liquid
Mixing acrylic powder and liquid correctly is one of the most important skills for beginners. A good bead should hold its shape while remaining soft enough to spread across the nail.
You will need acrylic powder, liquid monomer, an acrylic brush, and a dappen dish.
Pour a small amount of monomer into the dish. Dip your brush into the liquid, then wipe away excess liquid according to the product instructions.
Pick up a small amount of acrylic powder with the brush.
The goal is to create a bead that is neither too wet nor too dry.
Too wet: The bead looks runny and spreads quickly.
Too dry: The bead looks chalky, rough, or difficult to move.
Good consistency: The bead holds its shape but can be gently pressed and shaped.
Practice making beads on a nail trainer or practice hand before applying acrylic to your own nails.
How to Apply Acrylic Beads Step by Step
Acrylic bead application requires patience and controlled brush movements. Small beads are easier to manage than large ones, especially when you are learning.
1. Place the first bead
Place a small bead near the center of the nail, away from the cuticle and skin.
Gently press and guide the product toward the free edge. Keep the bead within the nail’s sidewalls.
2. Add more acrylic
Depending on the nail size and product, you may need more beads to build an even surface.
A common approach is:
- One bead near the cuticle area.
- One bead in the center.
- One bead near the free edge.
These are not strict rules. Your bead size and placement will depend on the product and the shape you want.
3. Create a balanced nail
The nail should have a smooth, balanced structure rather than a thick lump of acrylic.
The apex is the slightly higher point of the nail structure that helps create balance. Its position depends on the nail shape and length.
Avoid making the cuticle area bulky. Keep the product away from the skin and sidewalls.
4. Let the acrylic harden
Acrylic hardens through a chemical reaction between the powder and liquid. It does not need a UV or LED lamp.
Allow the product to harden according to the manufacturer’s instructions before filing.
Do not try to shape acrylic while it is still too soft. You may move the product or create an uneven surface.
How to File and Shape Acrylic Nails
Filing gives acrylic nails their final shape and smooth finish. Once the acrylic has hardened, use a nail file to refine the sidewalls, free edge, and surface.
Filing steps
- Check the nail from different angles.
- File the sidewalls evenly.
- Shape the free edge.
- Smooth any rough areas.
- Check the thickness.
- Buff the surface if needed.
- Remove filing dust.
For square nails, keep the sidewalls straight and the tip flat.
For almond nails, taper the sides toward a soft point.
For coffin nails, taper the sides and create a flat tip.
Avoid excessive filing near the natural nail. The goal is a smooth, balanced enhancement, not a thinner natural nail.
How to Polish Acrylic Nails at Home
Once the acrylic is filed and cleaned, you can apply regular nail polish, gel polish, or nail art. The best choice depends on the finish you want and the products you have.
Regular nail polish
Regular polish is easy to use and does not require a curing lamp. Apply thin coats and allow each coat to dry according to the polish instructions.
For more information, read how long does nail polish take to dry .
Gel polish
Gel polish usually requires a compatible UV or LED lamp. Follow the product’s curing instructions and avoid skin contact with uncured gel.
You can learn more about how to apply gel nail polish before using gel over acrylics.
Acrylic nail design ideas
- Red French tips: A bold, classic manicure. Explore red French tip nails .
- Pink ombre: A soft, blended style. See ombre French nails .
- Neutral shades: A clean everyday look. Browse neutral nail colors .
Acrylic Nail Aftercare and Maintenance
Acrylic nails need regular care to stay neat and comfortable. As your natural nails grow, a gap appears near the cuticle, so maintenance becomes necessary.
Acrylic nails commonly need a fill or maintenance appointment after about two to three weeks, although the timing varies with nail growth and application quality.
Daily acrylic nail care tips
- Keep your nails clean and dry.
- Wear gloves when cleaning or washing dishes.
- Avoid using your nails as tools.
- Apply cuticle oil around the nail area when appropriate.
- Do not bite, pick, or peel acrylic.
- Address lifting rather than covering it with more product.
- Schedule maintenance when needed.
For more information, read how long do acrylic nails last .
Acrylic Nail Safety Tips for Beginners
Acrylic nail products contain chemicals that can irritate the skin or cause allergic reactions in some people. Safe application means keeping products off the skin and using proper ventilation.
Important safety rules
- Work in a well-ventilated area.
- Avoid skin contact with uncured acrylic products.
- Follow the manufacturer’s instructions.
- Do not use products on damaged or infected nails.
- Keep nail products away from children and pets.
- Stop if you develop itching, burning, swelling, or a rash.
For a reliable source on nail product safety, read the FDA guide to nail care products . It explains important safety information about cosmetic nail products.
If you experience a persistent rash or other concerning symptoms, seek medical advice. Do not continue using a product that appears to cause a reaction.
Common Acrylic Nail Mistakes to Avoid
Many beginner acrylic mistakes happen because of rushed preparation or poor bead control. Learning what to avoid can help you create a cleaner manicure and protect your natural nails.
Applying acrylic too close to the cuticle
Product touching the skin can lead to lifting and irritation.
Better approach: Leave a small gap between the acrylic and the skin.
Using too much acrylic
Thick acrylic can look bulky and be difficult to shape.
Better approach: Use smaller beads and build gradually.
Over-filing the natural nail
Excessive filing can thin the natural nail plate.
Better approach: Lightly remove shine during preparation.
Using poor-quality products
Unsuitable or poorly labeled nail products may increase safety risks.
Better approach: Choose reputable products and follow their instructions.
Removing acrylic by force
Peeling or ripping acrylic off can damage the natural nail.
Better approach: Use proper removal techniques.
How to Remove Acrylic Nails Safely
Acrylic nails should never be pulled or peeled off the natural nail. Forceful removal can take layers of the natural nail with the enhancement.
A common professional removal method involves reducing the acrylic with a file and soaking the remaining product in acetone when appropriate for the product system.
The exact process depends on the enhancement and the manufacturer’s instructions.
Read how to remove acrylic nails for a detailed removal guide.
If your acrylic nails are lifting, painful, or causing irritation, avoid forcing removal and consider consulting a qualified nail professional.
Acrylic Nails vs Gel, Hard Gel, and Shellac
Acrylic is one of several nail enhancement options. Understanding the differences can help you choose a manicure that fits your needs and preferences.
| Nail type | Main feature | UV/LED lamp |
|---|---|---|
| Acrylic nails | Powder and liquid system | No |
| Gel nails | Gel-based enhancement or polish | Usually yes for gel systems |
| Hard gel nails | Sculpted gel enhancement | Usually yes |
| Shellac nails | Brand-specific hybrid polish system | Yes |
Acrylics are useful for building length and structure. Gel systems may offer different finishes and application methods.
You can compare hard gel nails and learn about shellac nails before choosing your preferred nail enhancement.
Frequently Asked Questions
These common questions cover the basics beginners often ask before trying acrylic nails at home. The answers focus on application, safety, and everyday maintenance.
What are acrylic nails made of?
Acrylic nails are made by mixing acrylic powder with liquid monomer. The mixture forms a bead that is applied to the nail and hardens in the air.
Is it hard to do acrylic nails at home?
Acrylic nails can be challenging for beginners because bead control and shaping require practice. Start with short nails and practice on a nail trainer.
Can you do acrylic nails without tips?
Yes. You can apply acrylic directly over the natural nail as an overlay. This adds product without necessarily adding much length.
Should beginners start with short acrylic nails?
Yes. Short acrylic nails are generally easier to shape and maintain. They also require less product and can be more practical for everyday activities.
Why do acrylic nails lift?
Acrylic nails may lift because of poor preparation, product touching the skin, incorrect application, natural nail growth, or moisture getting underneath the product.
When should acrylic nails be removed?
Acrylic nails should be removed when they are no longer wanted, significantly lifted, damaged, or causing discomfort. Do not pull them off. Use proper removal methods.