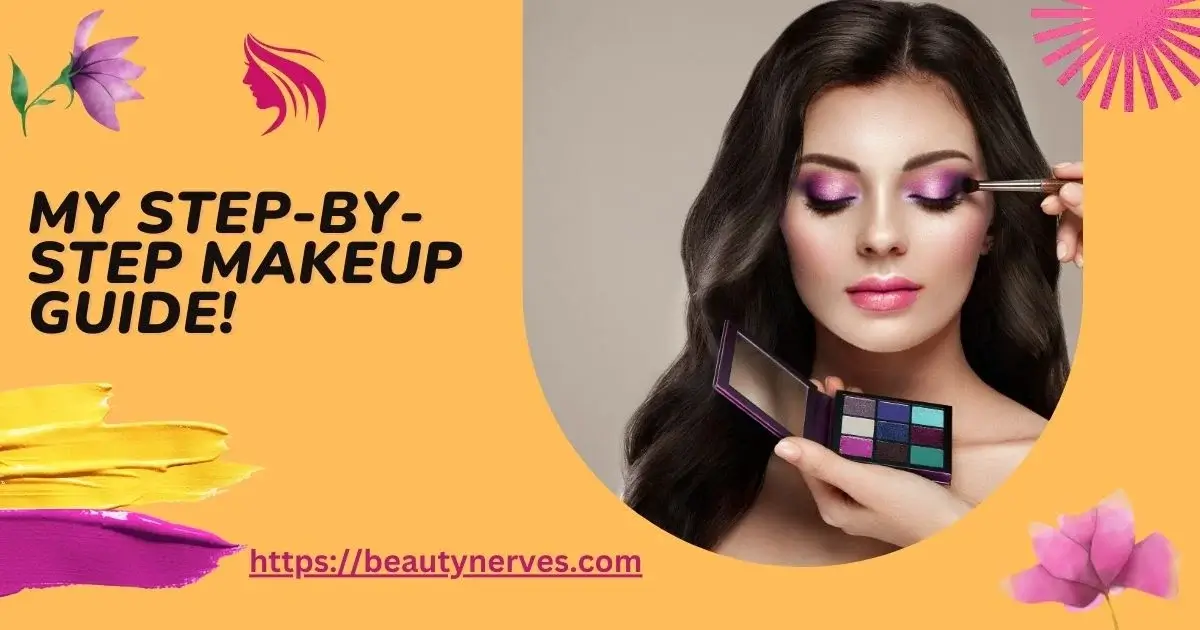
Makeup has always been my little escape. It’s not about looking different—it’s about feeling like the best version of me. Some days, I go for a full-glam look. Other days, I just want a fresh, natural glow. Either way, I love how makeup lets me set the mood for the day.
I remember my first time trying foundation. I had no clue what I was doing. Too much product, the wrong shade, and a streaky mess. But with time, I learned what works for me. Now, I enjoy every step. It’s like a morning ritual that gets me ready to take on anything.
Table of Contents
Step 1: Prepping My Canvas for a Fresh Start
Great makeup starts with great skin. I always prep my face so my makeup stays smooth and lasts longer. Skipping this step? No chance.
1. Cleansing and Moisturizing
- I wash my face with a gentle cleanser to clear away dirt and oil.
- A lightweight moisturizer keeps my skin soft and stops makeup from looking patchy.
- If my skin feels tight, I use a hydrating mist for extra moisture.
2. Priming for Perfection
- A primer evens out my skin and makes makeup stick better.
- I use a mattifying primer on oily days and a dewy one when my skin looks dull.
- A small amount is enough—I apply it to my T-zone and blend outward.
Step 2: Crafting a Flawless Base That Feels Like Skin
My base sets the tone for the rest of my makeup. I want it to look smooth, natural, and effortless.
1. Foundation Application
- I pick a foundation that matches my skin tone for a natural look.
- A damp sponge gives a soft finish, while a brush adds more coverage.
- I blend from the center of my face outward for an even look.
2. Concealing Imperfections
- I dot concealer under my eyes and on any blemishes.
- A shade slightly lighter than my skin brightens my under-eyes.
- I pat it in with my ring finger or sponge for a seamless blend.
Step 3: Adding Dimension and Glow That Looks Effortless
A little sculpting makes my face look alive. I love how contour, blush, and highlight bring everything together.
1. Contouring Like a Pro
- I apply a matte bronzer to my cheekbones, jawline, and forehead.
- A little product goes a long way—I build it up slowly.
- Blending is key, so I use circular motions for a soft look.
2. Blushing for a Natural Flush
- I smile and apply blush to the apples of my cheeks.
- A warm pink or peach shade gives me a healthy glow.
- I blend it slightly upward for a lifted look.
3. Highlighting the High Points
- I dust highlighter on my cheekbones, nose, and cupid’s bow.
- A champagne or gold tone gives a soft, natural glow.
- I tap it in with my fingers for a skin-like finish.
Step 4: Defining My Eyes for a Bold or Soft Look
My eyes bring my whole makeup look together. Whether I go for bold drama or soft glam, I always shape my brows and add definition.
1. Shaping the Brows
- I fill in sparse areas with a brow pencil or powder.
- Soft, hair-like strokes make them look natural.
- Following my natural shape keeps them looking polished, not overdone.
2. Eyeshadow Application
- I sweep a neutral base shade over my lids for an even tone.
- A deeper shade in the crease adds depth and definition.
- A light, shimmery shade on my brow bone makes my eyes pop.
3. Eyeliner Techniques
- I line my upper lash line with a pencil or liquid liner.
- A soft brown shade keeps it natural, while black adds drama.
- A tiny wing lifts my eyes without being too bold.
4. Mascara Magic
- I coat my upper and lower lashes with mascara.
- Wiggling the wand at the base gives extra volume.
- A second coat adds drama without clumping.
Step 5: Perfecting My Pout with the Right Finish
Lips complete the look. I love switching between bold colors and soft nudes depending on my mood.
1. Lip Liner Love
- I outline my lips with a liner that matches my lipstick.
- This keeps the color from feathering and makes my lips look fuller.
2. Lipstick Application
- I swipe on my favorite shade, starting from the center.
- Blotting with a tissue helps it last longer.
- A second layer adds richness without feeling heavy.
Step 6: Final Touch – Setting It All in Place
I want my makeup to last all day. A quick setting step keeps everything fresh.
1. Setting Spray or Powder
- A few spritzes of setting spray lock everything in.
- A light dusting of translucent powder stops shine without looking cakey.
Author
-

I'm Mary James, and I’m in love with beauty and fashion. I enjoy trying fun makeup looks and keeping up with new style trends. Whether it’s a bold lipstick or a cute outfit, I’m always excited to try something fresh. Fashion makes me happy—it’s how I express myself!
View all posts


