Applying lashes might seem tricky at first, but it’s all about getting comfortable and practicing. I remember the first time I tried, it was a mess! But then, I figured out the secret – a little patience and the right tools.
Whether you’re going for a dramatic look or just a subtle boost, there’s a technique for every style. No need to stress if you’re a beginner.
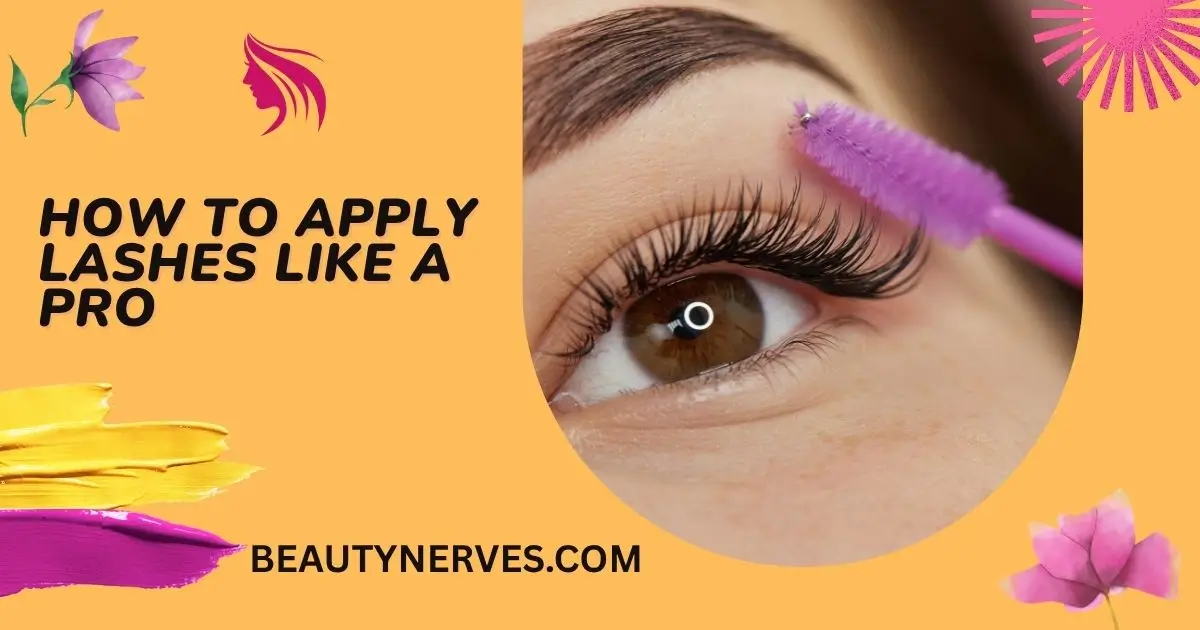
I’ve learned some tricks along the way, and I’m excited to share them with you. By the end of this guide on how to apply lashes, you’ll feel confident putting on lashes like a pro! Let’s get started!
Read More: Eye Makeup Application Tips: Master Your Stunning Look Today!
Disclosure: This post contains affiliate links. If you purchase through these links, I may earn a small commission at no extra cost to you.
Table of Contents
The Beginner Who Got Her Lash Game On Point!
Emma, a complete beginner, had always struggled with applying false lashes. After a few attempts, she decided to seek help. I walked her through the process of applying individual lashes and avoiding the common mistakes.
With just a few easy tips, Emma transformed from frustrated to fabulous! She couldn’t believe how simple it was once she got the right guidance. Now, she confidently nails her lash look every time!
Read More: Eye Makeup Guide: Perfect Your Look with These Easy Tips
Let’s Get Technical: How to Apply Eyelash Glue Like a Pro
Applying eyelash glue is a game changer. I’ve had my fair share of mistakes, but once I figured it out, my lash game leveled up. First, pick the right glue. Clear glue dries invisibly, while dark glue blends better with eyeliner, especially if you’re going for a smoky look.
Now, take your glue and apply a thin layer along the lash band. Wait 20-30 seconds for it to get tacky – this is the key to making it stick properly.
A common mistake is applying glue when it’s too wet, so let it dry just a little before putting on your lashes. For beginners, Ardell is a perfect choice. Their glue is easy to work with and gives you long-lasting hold.
Buy on Amazon: Ardell lashes
Can I Do It Without Tweezers? Yes, You Can!
Tweezers are great, but not everyone is comfortable using them. I used to think they were a must-have, but I found a way to apply lashes with just my fingers. It took a little practice, but I got the hang of it.
The trick is to hold the lash in the middle with your thumb and index finger, gently placing it near your lash line. Then, adjust the edges with your fingers, making sure they sit comfortably.
This method gives you more control, especially when you’re still figuring it out. Keep your hands steady, and you’ll be surprised at how well you can apply lashes without tweezers.
No Glue? No Problem: How to Apply Lashes Without Glue
No-glue options have been a lifesaver for me on days when I’m in a rush. Magnetic lashes are a fantastic alternative, and Lilly Lashes has some of the best. They’re easy to apply and don’t require any sticky mess.
Just place the upper lash near your lash line and let the magnets snap into place. For strip lashes or individual lashes, you can use temporary adhesive strips instead of glue.
They work wonders and won’t damage your natural lashes. The best part? You can skip the mess and have a flawless look in seconds.
Buy on Amazon: Lilly Lashes
Mastering the Strip: How to Apply Strip Lashes Perfectly
Strip lashes are a game changer when you want a bold, dramatic look. What makes them unique is the lash band that you apply all at once, rather than individual lashes. First, measure the strip lash against your eyelid to see if it fits. Trim the excess from the outer edge if needed.
Next, apply a thin layer of glue along the lash band and let it sit for about 30 seconds. Then, gently place the strip along your natural lash line, starting from the inner corner.
Press gently to avoid discomfort, and make sure the band sits securely. For a luxurious look, Velour Lashes is my go-to. They offer volume without the weight, making them both stunning and comfortable.
What If I Want a Natural Look? How to Apply Individual Lashes
Individual lashes are perfect for a subtle, natural look. They give you more control to customize the volume you want. Start by placing a small amount of glue on the back of your hand. Using tweezers, pick up a single lash and dip the base into the glue.
Carefully place it on your natural lash line, close to the roots. Space them out, leaving a small gap between each lash for a seamless blend. For maximum impact, focus on the outer corners to elongate your eyes.
Individual lashes give a beautiful lift and feel light. Once they’re on, just make sure to blend them with your natural lashes to complete the look.
The Lash Extensions Journey: How to Apply Them
Lash extensions are different from strip or individual lashes. They’re professionally applied, one by one, to each natural lash. If you’re applying them yourself, it’s a delicate process. Start by carefully applying a small amount of adhesive to each extension and then attach it to your natural lash.
Avoid getting glue on your skin. Afterward, you’ll need to let the glue dry completely. Lash extensions last longer than strips, but they need care. Avoid getting them wet for the first 24 hours. The key to professional results is to use high-quality extensions and proper aftercare to make sure they stay in place longer.
